What this guide helps you do
Set up a whole new restaurant or shop from the material you already have — menus, price lists, photos, documents — by letting any AI chat fill Krobr's store file, then checking everything in the wizard before you publish.
Before you start
Use your owner account (or a support partner creating for a customer who allows it). Your package must have room for another store. Gather your menu or price list, item photos, opening hours, charges and the areas you deliver to. You need an AI chat that accepts file attachments, such as ChatGPT, Gemini or Claude.
Where to find it
Workspace → Experiences → Create Experience, then choose a category. The second step, How do you want to set up your store?, offers Upload a store file and Set up manually. On a phone open the Experiences tab and use the create action. The store file can only be used while creating a new store; Krobr Partner has no import for an existing store.
Step by step
-
Choose Restaurant or Shop. The file and its columns follow that category, so choose before downloading anything.
-
On the Start step choose Upload a store file.
-
Choose Download blank template and Copy AI prompt. Download sample store shows a filled example if you want to see the format first. Show the prompt displays the prompt text.
-
In your AI chat, attach the template together with your menus, price lists and photos, then paste the prompt. The AI fills the template using only your material.
-
Download the file the AI returns. Back in the wizard choose Choose file and select it (CSV or Excel .xlsx, up to 2 MB). If the AI shows the file as text instead, choose Paste CSV text instead, paste it into CSV text and choose Read text.
-
Add your photos lists the photos your file names. Links are downloaded for you. Drop the photo files you gave the AI into the box, or use Choose photos; Not added yet shows which named files are still missing. Choose Import photos, or Skip photos to leave every item on its icon.
-
Read Your file is ready to check: the counts of categories, items, sizes and add-ons (or SKUs), photos, hours and charges, any notes about rows Krobr couldn't read, and any photos that couldn't be imported. Then choose Next.
-
Continue through every step. Each one is already filled from your file: name, design, branding, hours and menu times, visit details, storefront text and photos, menu or products, charges, ordering and delivery charges. Change anything that is wrong.
-
On Menu (or Products), look for items marked Needs a fix — for example an item with no price. Type the missing value, or choose More details to open the full item editor (photos, description, sizes and add-ons or SKUs, badge, old price, tags, menu times). Check marks are warnings only.
-
At Publish, review the phone number and the items that still need a fix. Fix each with Fix, or choose Remove the items that need a fix to add them later in Krobr Partner. Then choose Publish — go live.
Understand the choices
-
The AI may write descriptions, your tagline, the About text and search words, in your store's own language. It must never guess prices, stock, SKU codes, phone numbers, hours or fees: anything missing from your material stays blank for you to fill in.
-
Column names and row types in the file stay in English in every app language, so the file always matches the template.
-
Imported data wins over a design's sample content. Picking a design after importing never replaces your imported menu.
-
Your file's currency becomes the store currency, and its timezone is used when it is a valid time zone. Its phone fills the Publish phone only when that is empty, and always becomes the store's own contact and Visit phone.
-
Delivery areas are matched to Krobr's city and area list; a name Krobr doesn't know is noted and left out. Bank account numbers and Google Maps embeds are never in the file: add them on the Ordering step or later.
-
A file over a limit is not imported at all: 2 MB, 20,000 rows, 1,000 products, 5,000 SKUs, 200 categories, 500 option groups, 5,000 options and 3 menu times; 3 option axes per product and 10 photos per item or SKU.
-
Photos are stored in your account and count toward your storage. If storage runs out, the remaining items keep their icons and a See packages link appears. Photos not used by any store are deleted 7 days after upload.
-
Restaurants have no subcategories: the AI turns "Pizza › Veg" into its own category. Shops can use one level of subcategory.
Check the result
Every step shows your data, nothing on Menu or Products is marked Needs a fix, and after publishing the live page shows your items, prices, photos, hours and delivery charges.
If something goes wrong
-
This doesn't look like a Krobr store file: the file has no
typecolumn. Start again from Download blank template and ask the AI to keep its header row. -
The file is rejected as too large or over a limit: split the menu, or ask the AI to leave out items you will add later in Krobr Partner.
-
A row was skipped: open the notes in Your file is ready to check. Each note names the row and the reason; fix it in the wizard's steps or correct the file and choose Replace with another file.
-
A photo couldn't be imported: links must start with https:// and point to a JPG, PNG or WebP image under 4 MB. Add the photo later in the item's More details.
-
You closed the tab: unfinished wizard data lasts only for the browser session. Use Download my data as CSV while working, and upload that file again to continue.
-
Prices look wrong: the AI must not invent prices. Correct them on Menu or Products and check the store currency on Branding.
Screenshots
These screenshots use demonstration data. Your names, amounts and available controls may differ. Current values on your own screen take priority.
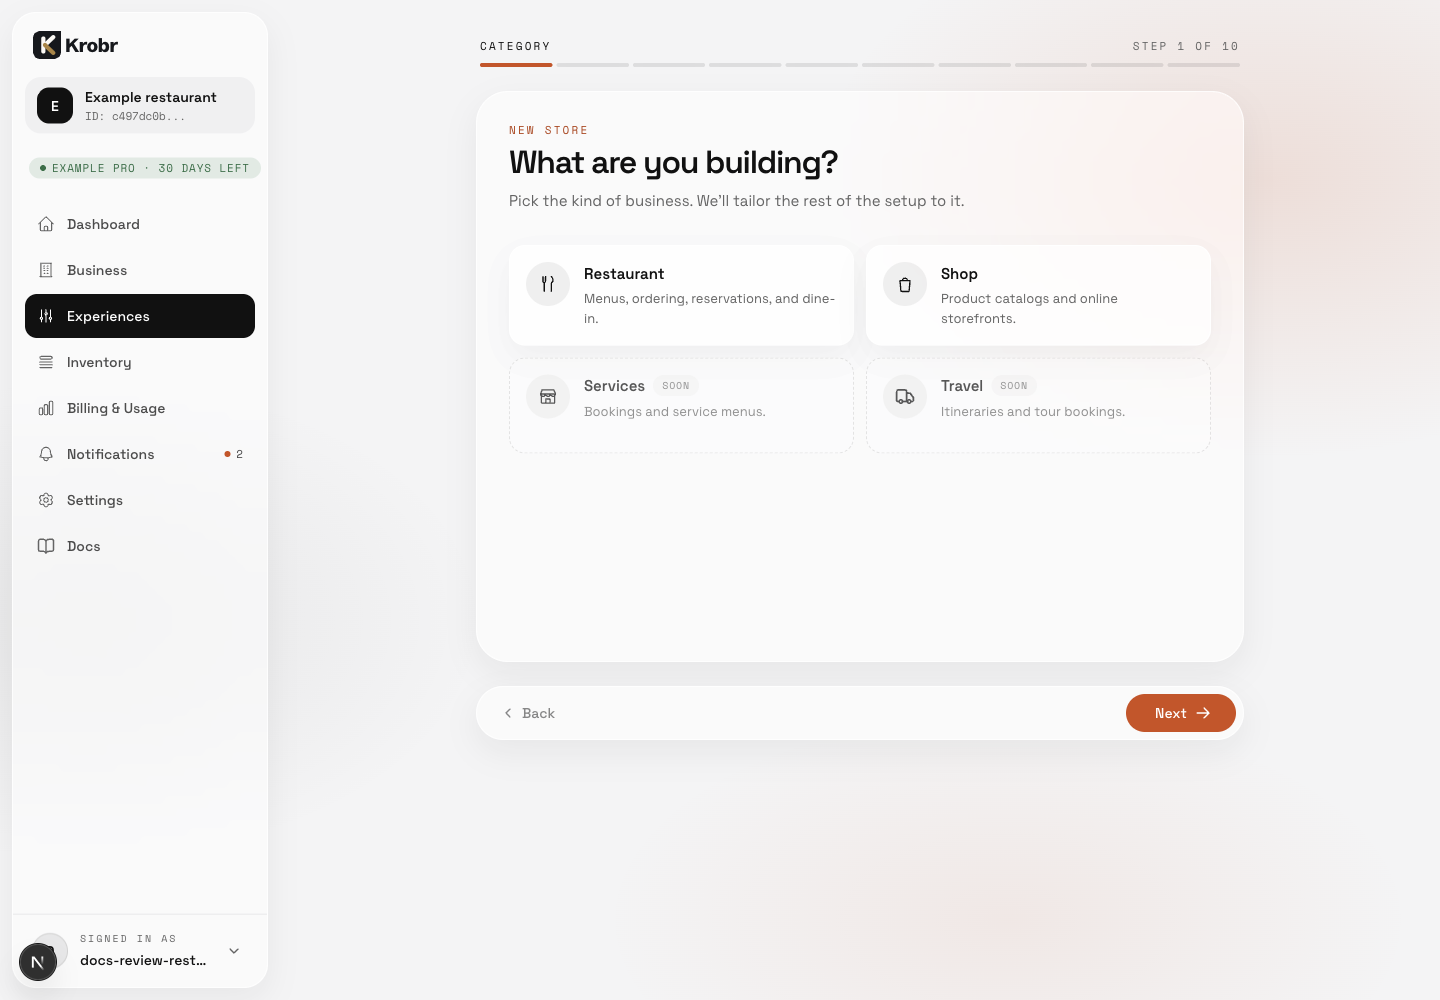
Choose Restaurant or Shop first; the next step offers Upload a store file and Set up manually.